Pick a format:
Google Docs and Google Slides are the two best tools for making a Hyperdoc because they are cloud-based documents that can be accessed from any device, and easily allow you to link to outside websites.
The benefit of using Google Docs is that you can potentially fit an entire lesson on a single page, making it very easy to navigate and read.
The benefit of Google Slides is that you can add all types of multimedia like videos, audio files, etc. Given that I like to include numerous types of media in my lessons, I almost always create my Hypderdocs using Google Slides.
Title, Learning Targets, & Essential Question:
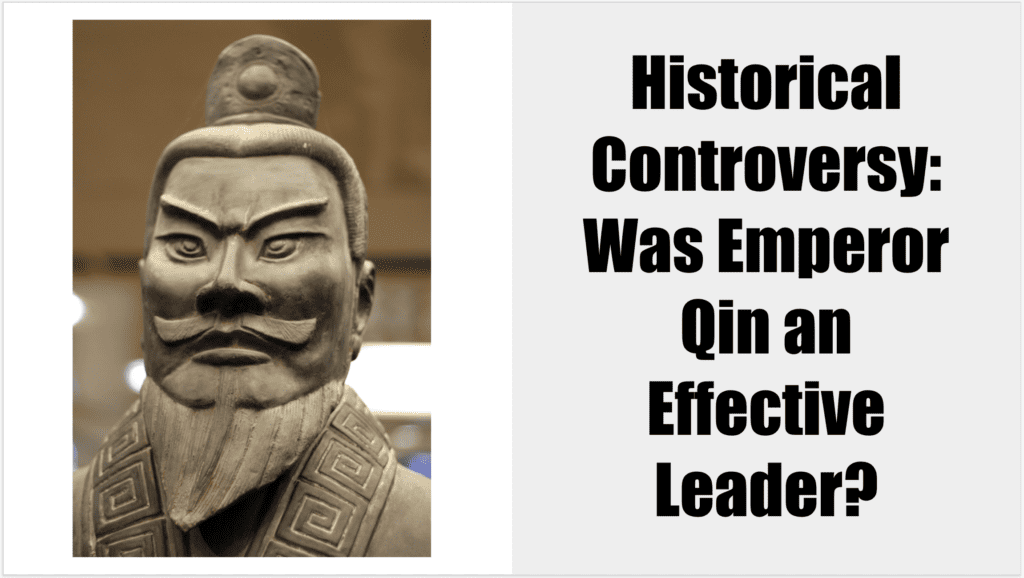
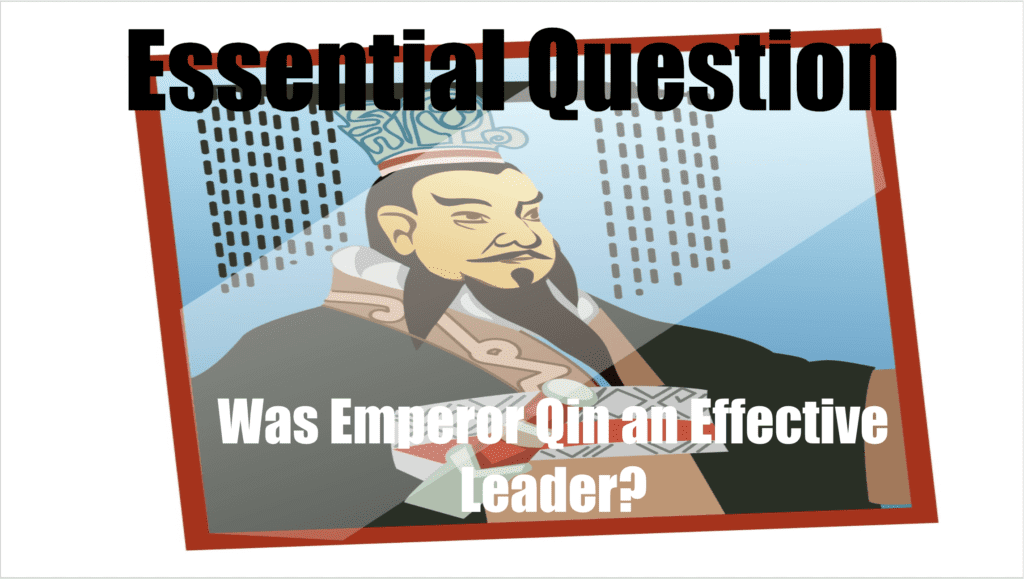
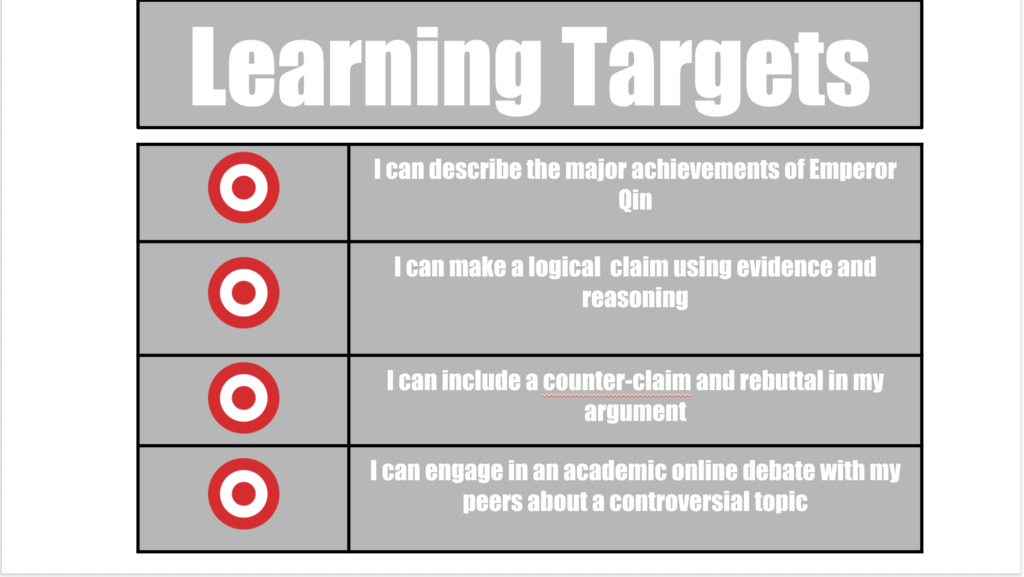
First include a title page (ideally with an image to grab attention), then write the learning targets so that students know what they will be learning, as well as the essential question to name the bigger picture purpose to the project.
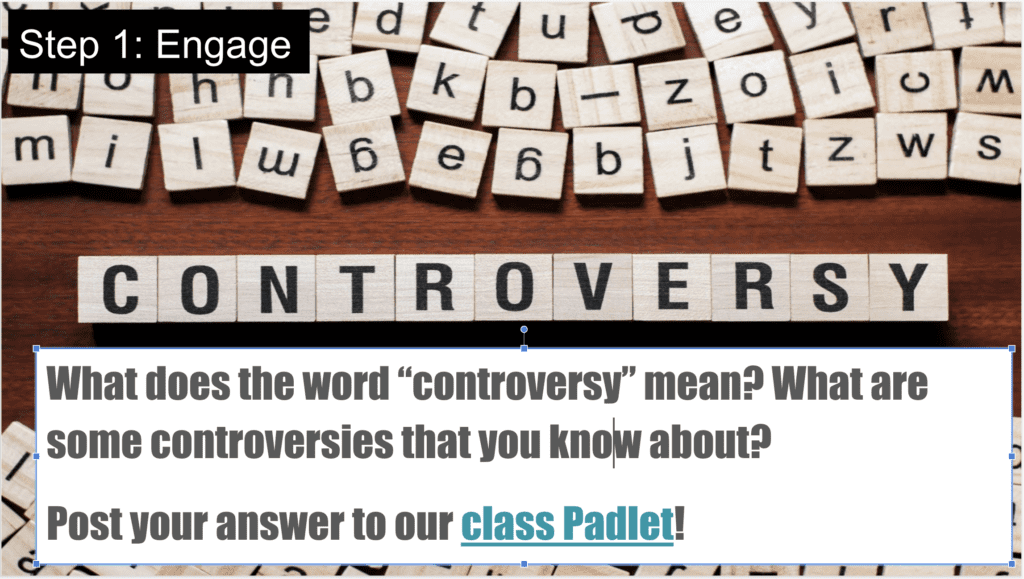
Engage:
Next, I’ll start creating one slide for each segment of the 5 Es lesson plan.
In the engage phase of the lesson, you can include a hook to draw students in or draw on their prior knowledge. You might have students answer a preview question and post their response on Padlet for the rest of the class to see. Or they could watch a Youtube video and post their reaction on Google Classroom. The point is to generate interest and/or activate prior knowledge about the upcoming assignment.
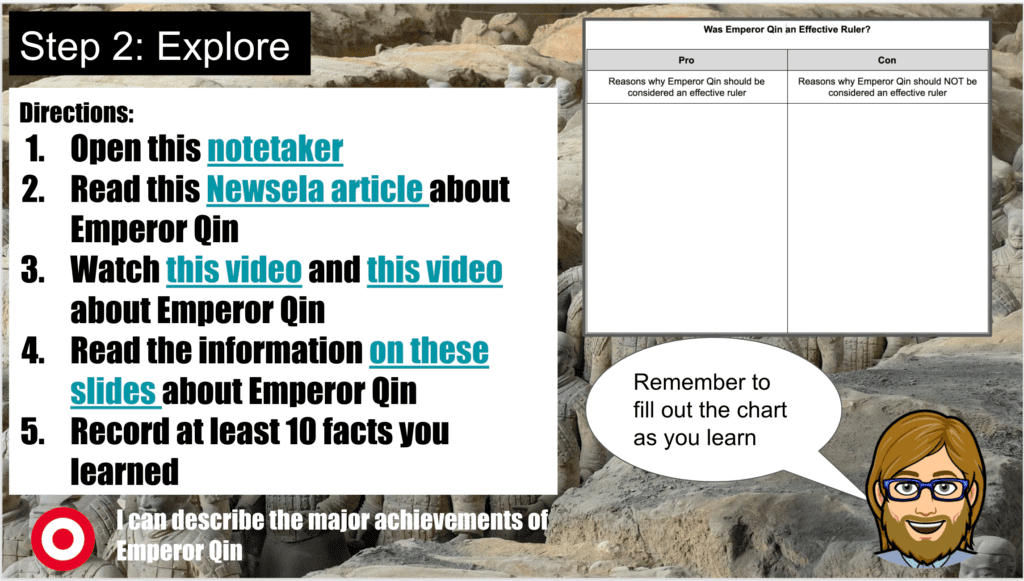
Explore:
In the explore phase, students start to dig into the content, and I usually have them take notes in a graphic organizer that I create using Google Docs.
*Please note that if you post the Hyperdoc to Google Classroom and click “Make a Copy” it won’t make a copy of all the documents you include. You’ll want to change the Share setting to “view only for anyone with the link” and then have students make their own copies of the document.
Here, you might have students read articles or watch videos in order to learn about the topic you are studying. Some excellent sites with differentiated content to use this stage:
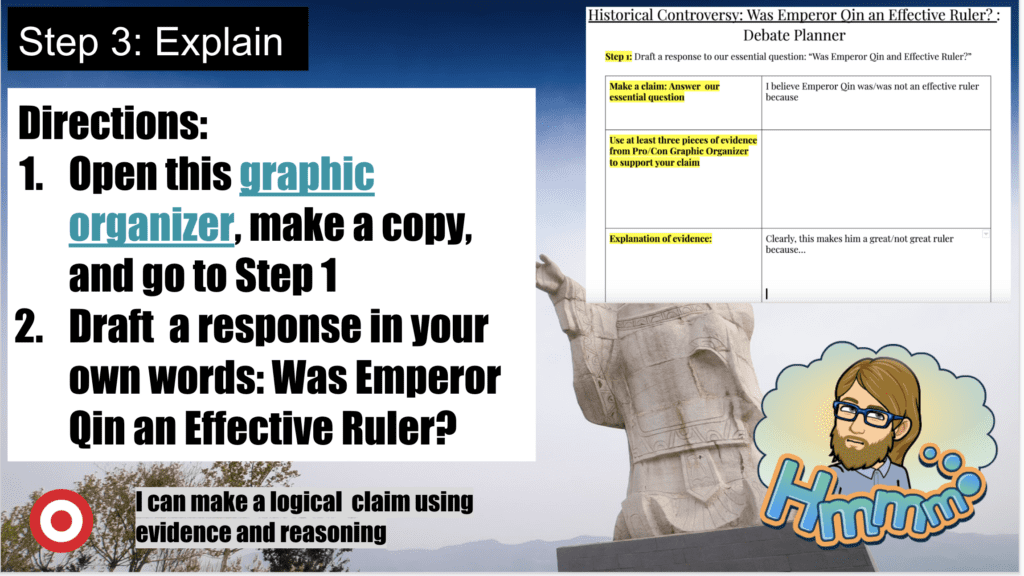
Explain:
In the explain phase of the lesson, students explain what they learned when exploring the different resources Here, it would be appropriate to have students fill in a graphic organizer to organize their thinking. For example, students might begin to construct an argument with evidence and explanations about a topic. At this point, you could potentially conference with students via video to give them feedback, or you could have them submit their docs via Google Classroom and give them comments.
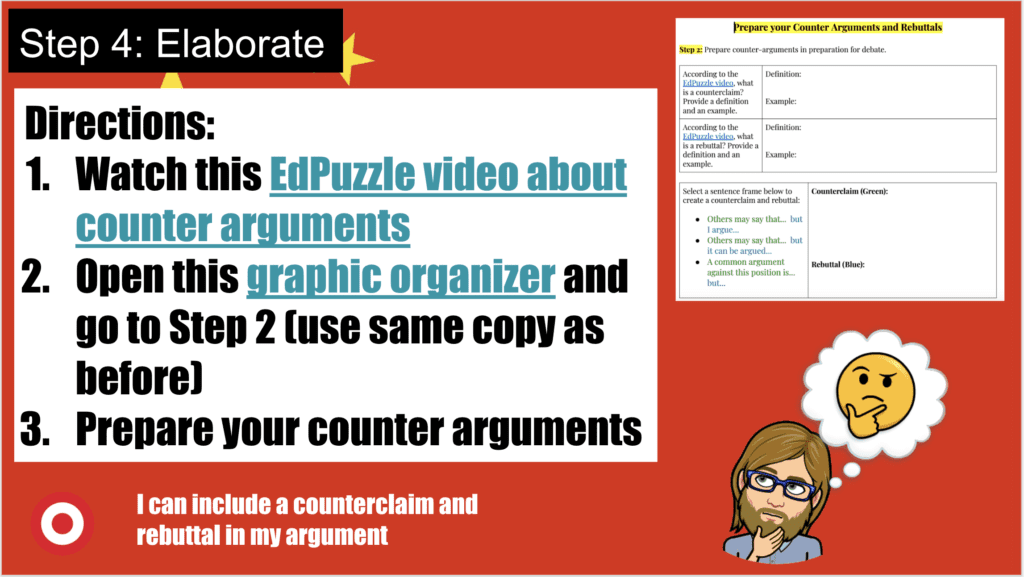
Elaborate:
After students have initially processed their thinking, and gotten some teacher feedback, you’ll extend the skill in the elaborate phase. In the example shown below, students will participate in a mini-lesson about counter-arguments, and begin to construct a counter-argument on their own.
Here, it would be appropriate to host a Zoom or Google Hangouts call with students to explicitly teach a lesson. You might pre-record a video using Screencastify, or you could set up a video with customized questions on EdPuzzle.
Evaluate:
In this phase of the lesson, students create a final product and share what they’ve created with others. In this example, students will engage in a debate on Google Classroom using the evidence they’ve prepared, as well as the lesson they learned about how to counter-argue. 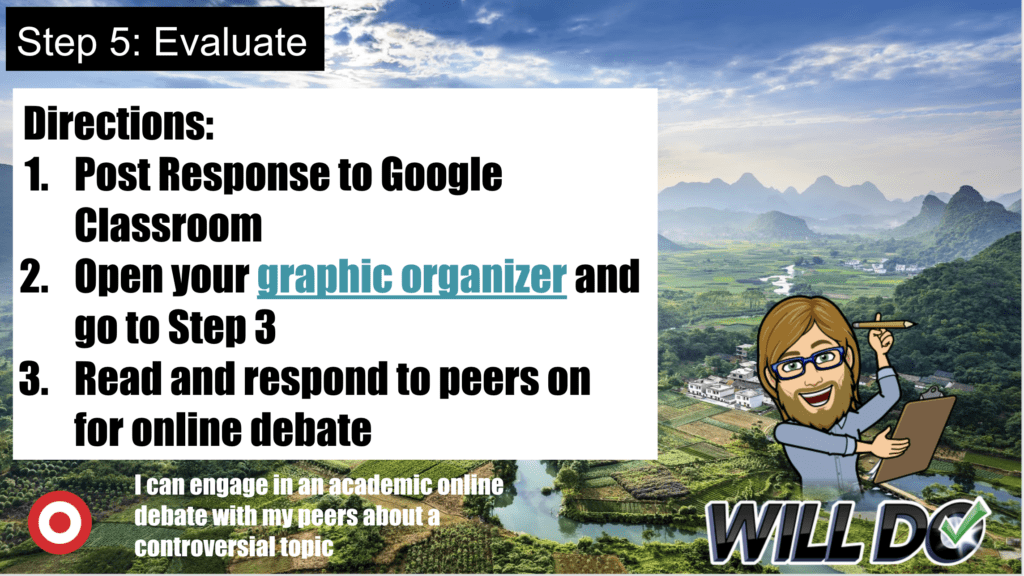
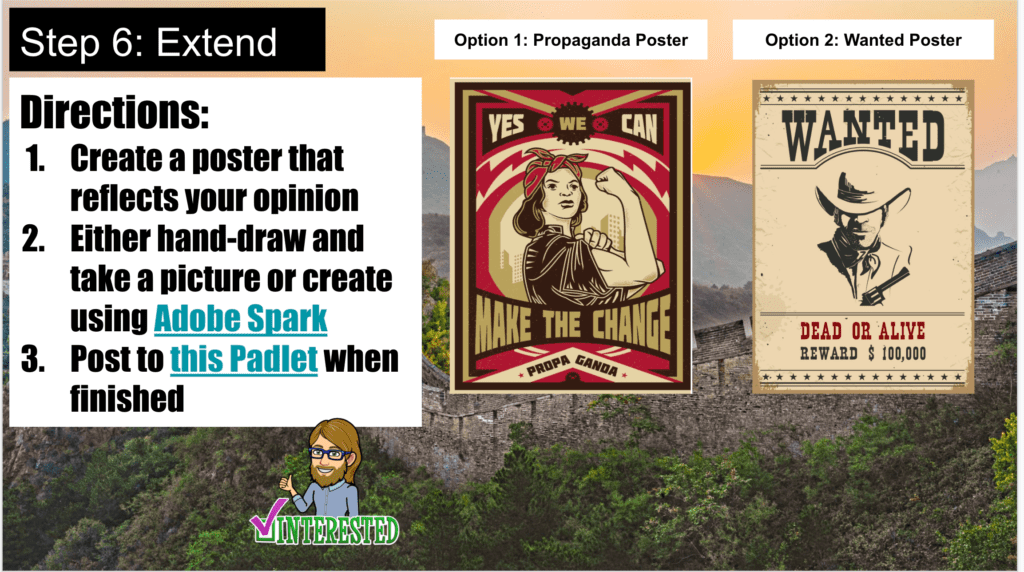
Extend:
Okay, so technically this isn’t part of the 5es, call it 5+1, but I think it’s very important to have students produce something creative to showcase what they’ve learned, and again share that creation with their classmates. In this example, students will create a graphic design using Adobe Spark Post that represents what they’ve learned.
Some other options would be to have students make a digital book, make a digital comic, make a Google Slides presentation, make a podcast, or make a short video with Adobe.
Then, you can have students post their work to another Padlet for the class to see, or you could set up a Google Sites class webpage to showcase work.