If you’re going to have students put digital portfolios together, you’re likely going to want to create that single homepage with all the links out to the individual portfolios, so let’s start there.
If you already have a Google Sites class website, it would probably make the most sense to have a Portfolios Page as one of the main pages on your site that can be accessed from the menu bar at the top.
To learn more about how to set up a class website with Sites, click here.
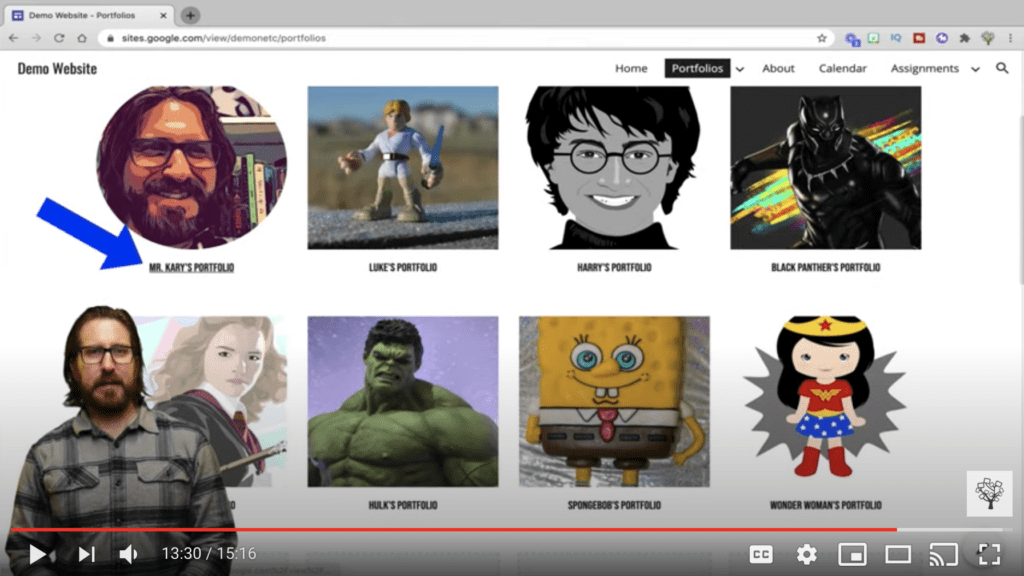
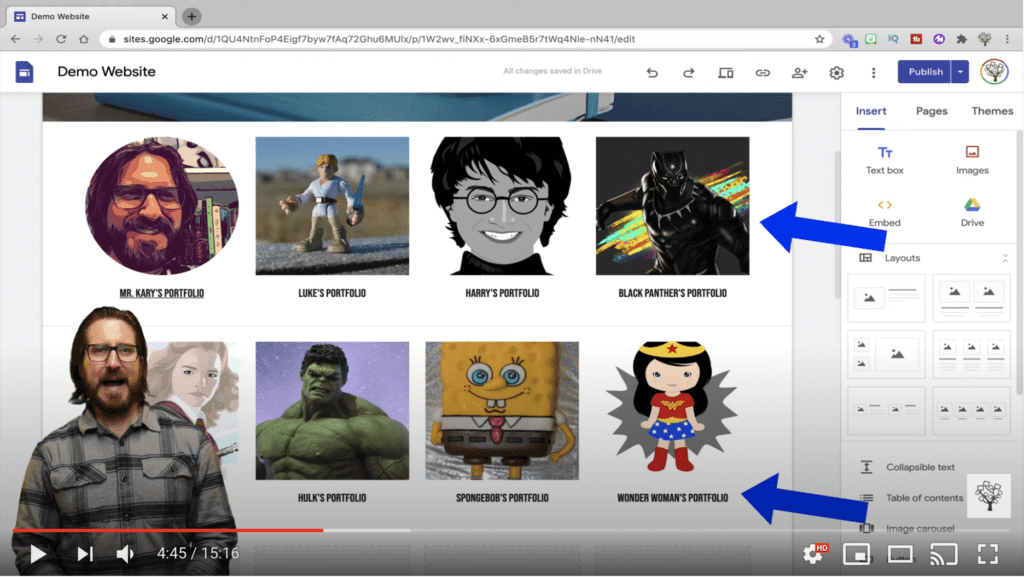
On the Portfolio Page, you can see that I’ve included images that represent each student on the page as well as a hyperlink that takes you over to that student’s individual portfolio.
If you haven’t set up a class website with Google Sites, no need to worry, you can still set up a central location to house all your students’ portfolios. In this case, you might just want to set up a single page Site as the place where students and families could go to view all the portfolios.
If you already have a class website, the easiest thing to do will be go to Google Sites, select your class website so you’re in edit mode, go over to the menu on the right hand side of the screen, and click “Pages” to add a new page. Click on the New Page button at the bottom of the screen, title it Portfolios, and click done when you’re ready.
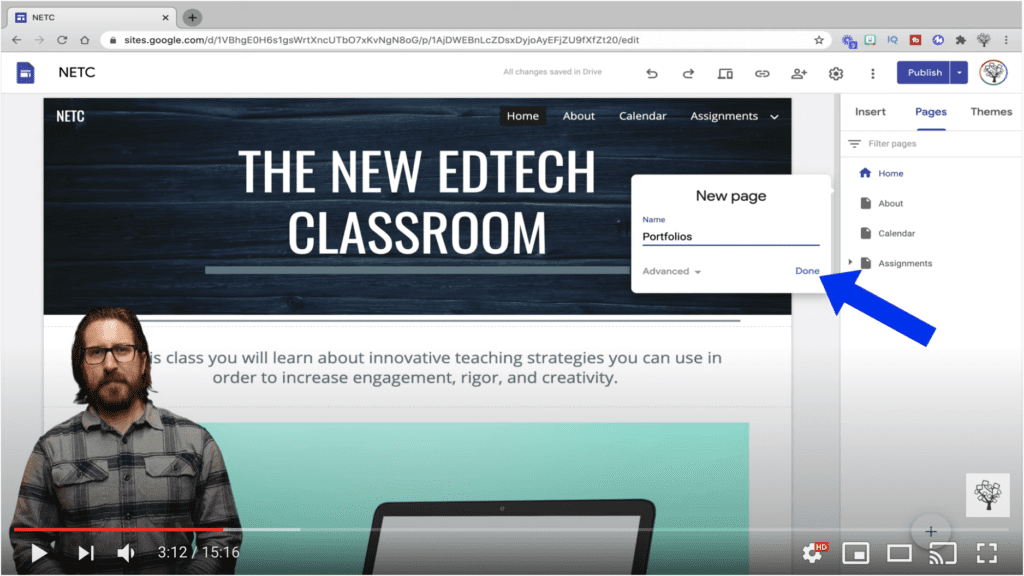
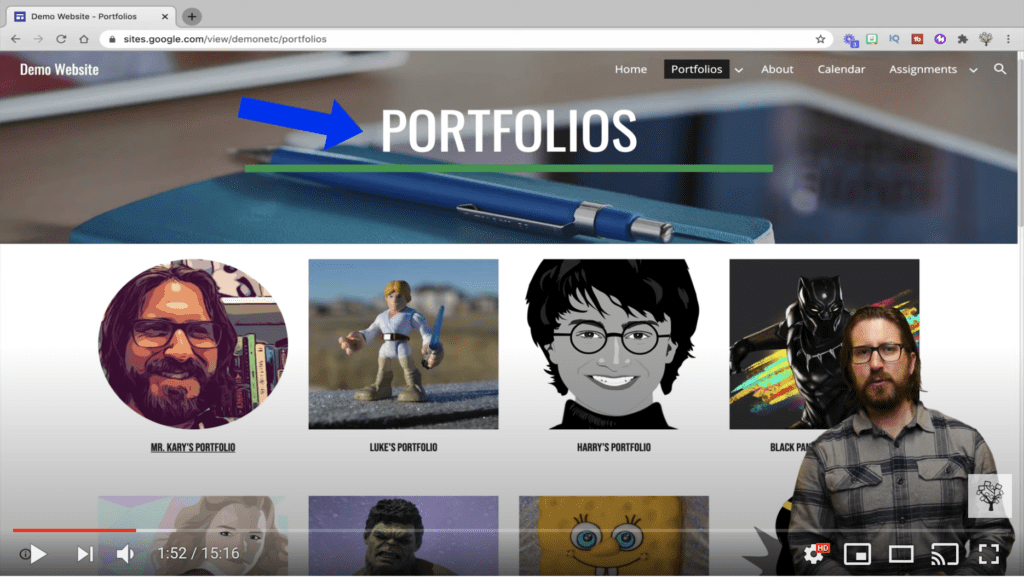
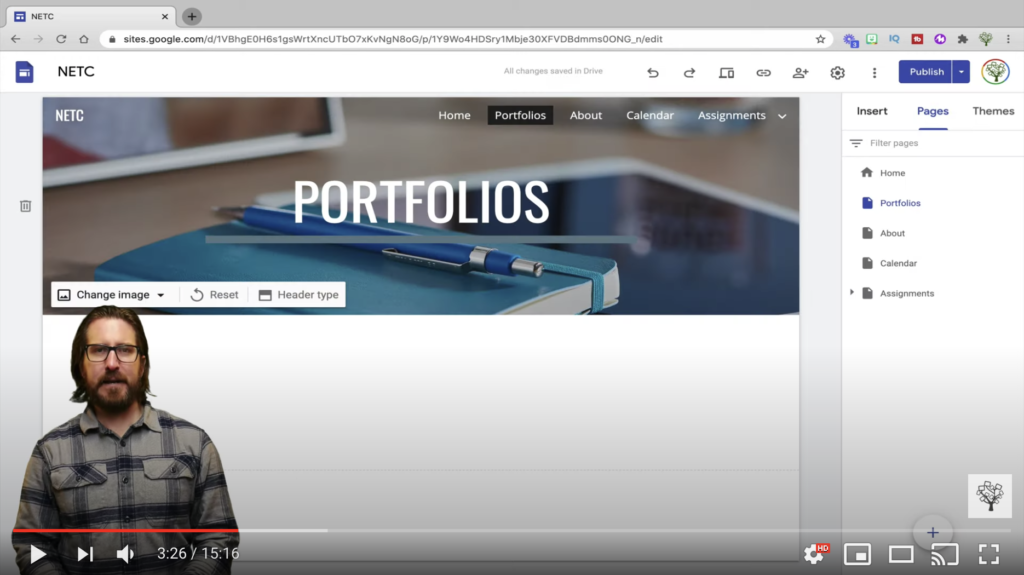
You’ll see that a new Page called Portfolios has been created, and that your new page has also been added to the menu bar above. You can click “change image” to customize the header background if you’d like.
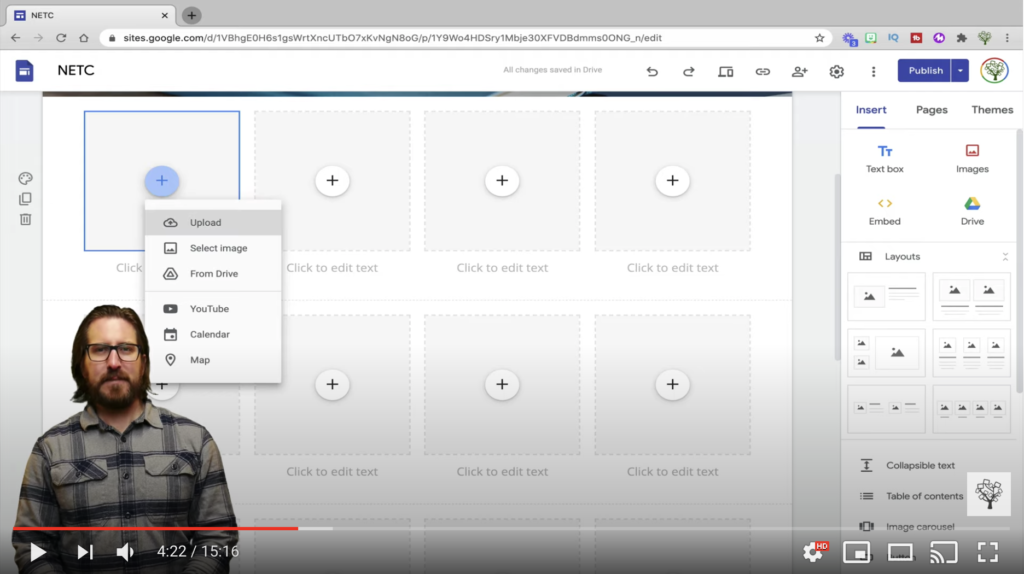
Then, you can add an image that represents each student by clicking on the plus button and then choosing upload if the image is on your computer, select image to find an image using Google, or From Drive if the files are on your Google Drive. To make it more personalized, I would recommend that you give some suggestions to students about the types of images they might want to include, like a headshot, or an image that represents something about their personality.
Then, underneath the image, I’ll click on the text box, type “Mr. Kary’s portfolio”, and make any formatting changes.
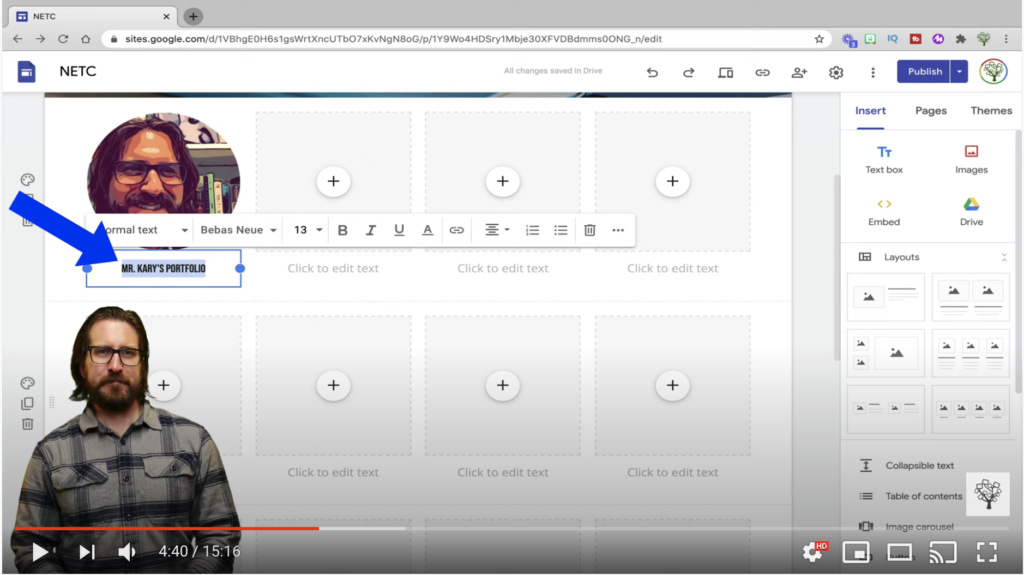
Next, just keep adding images and text until each of your students has a space on the portfolio page.
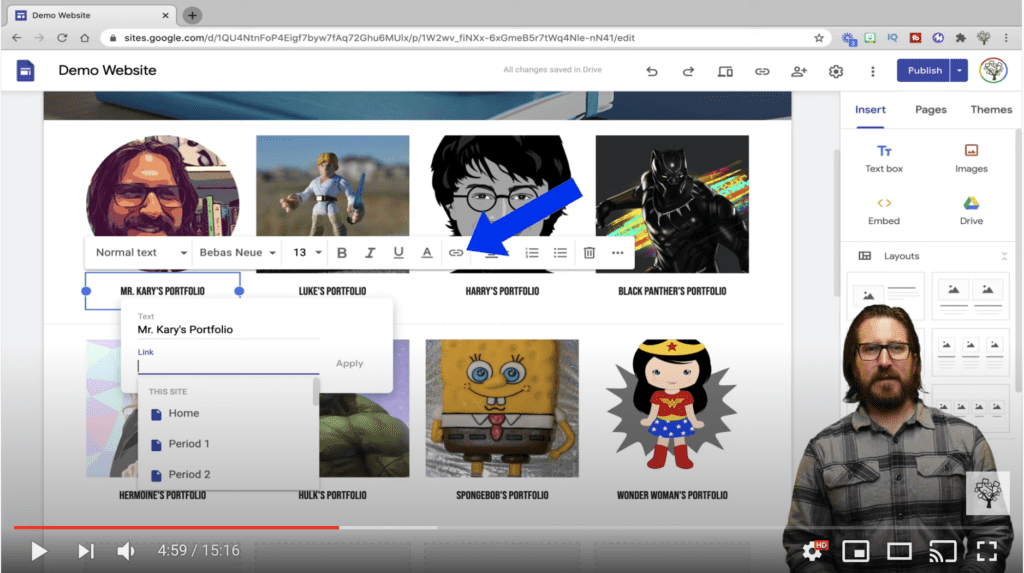
After you’ve created a space for each student, you’ll be able to start linking their individual portfolio pages by highlighting the text and selecting link. Once you have the link to their portfolio, you’ll copy and paste it on the landing page so that the pages are connected.
Before we create the individual student pages, let’s just look quickly and a couple more options you have for setting up your main portfolio page.
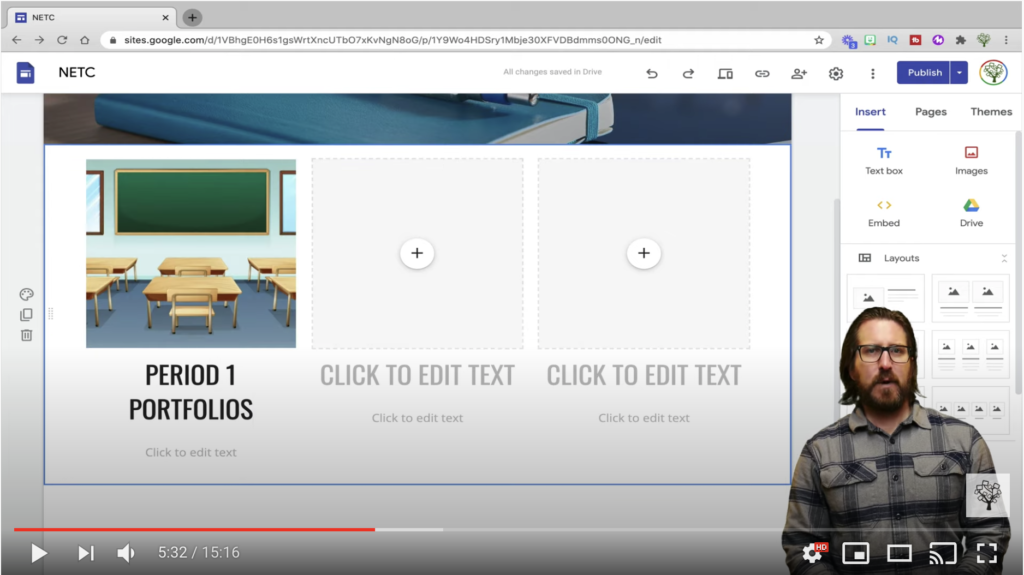
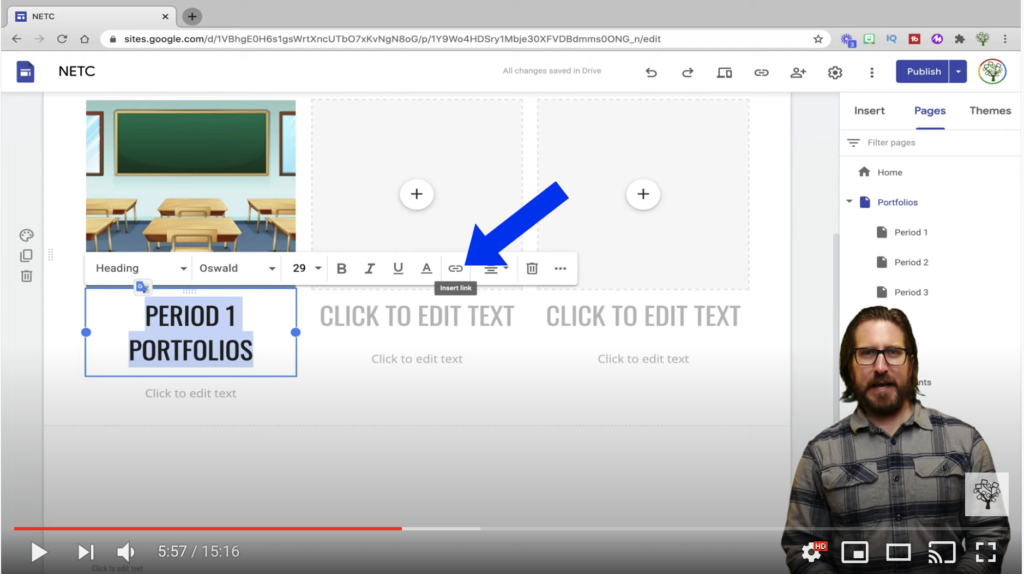
If you teach more than one class and want to create separate pages for each of your classes, all you need to do is set up the layout you drag in to represent those classes. So here you might use the three box layout and then write “Period 1 Portfolios” and add a relevant image.
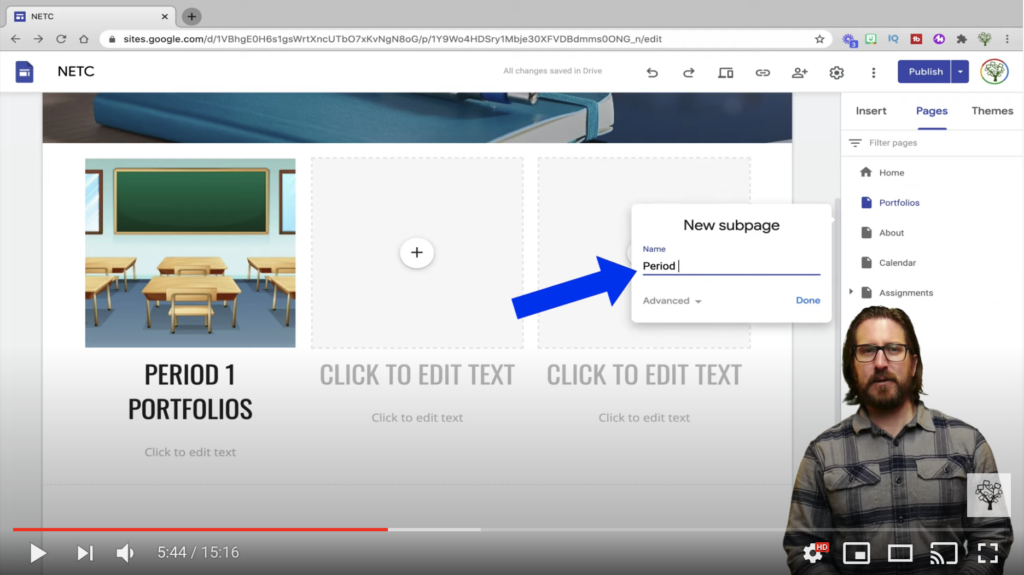
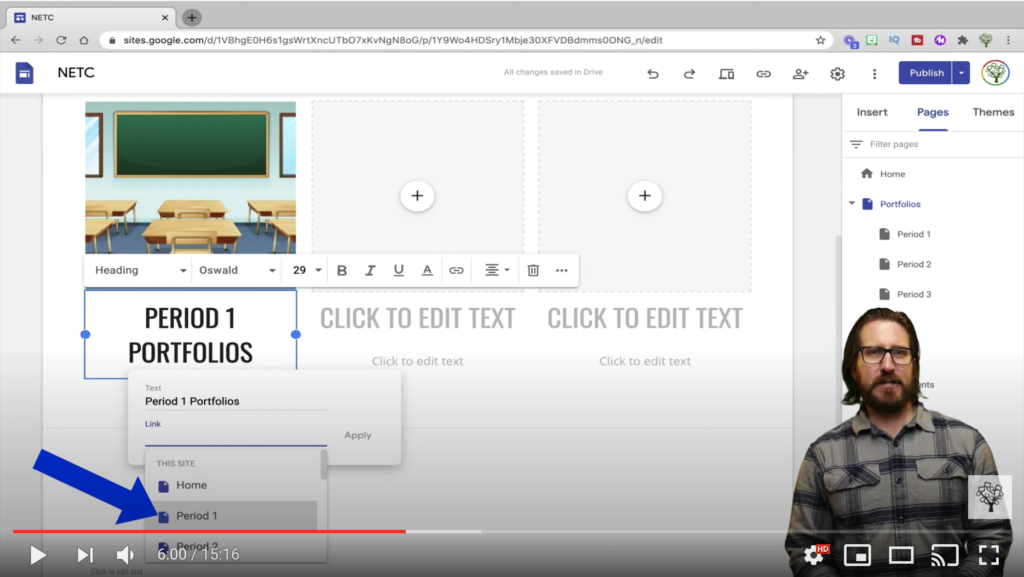
Then you’ll want to go back over to Pages, hover over “Portfolios,” click the three dot menu, and select “Add Subpage.” Title the subpage the name of your entire class, so I’ll write Period 1 here, and then repeat for the number of subpages you want to create.
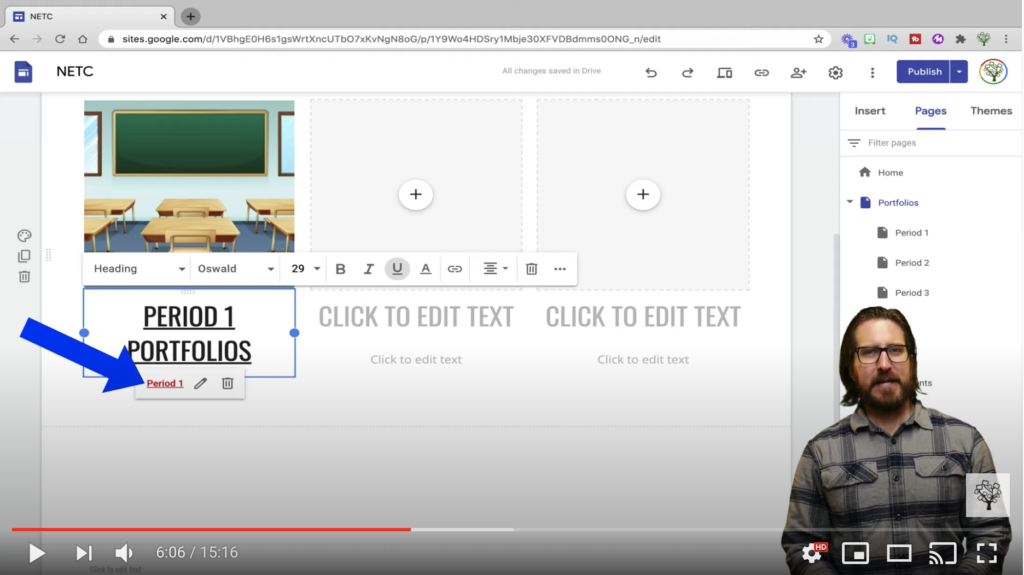
Then, when back on the portfolios page, highlight the text, select “Insert Link,” scroll down to choose the subpage you just created and click “Apply.”
Now you’ll see that when you click on that link, it takes you over to the Period 1 page you created, and from there you can repeat the same process I just showed of dragging in layouts and adding text and images for each student.
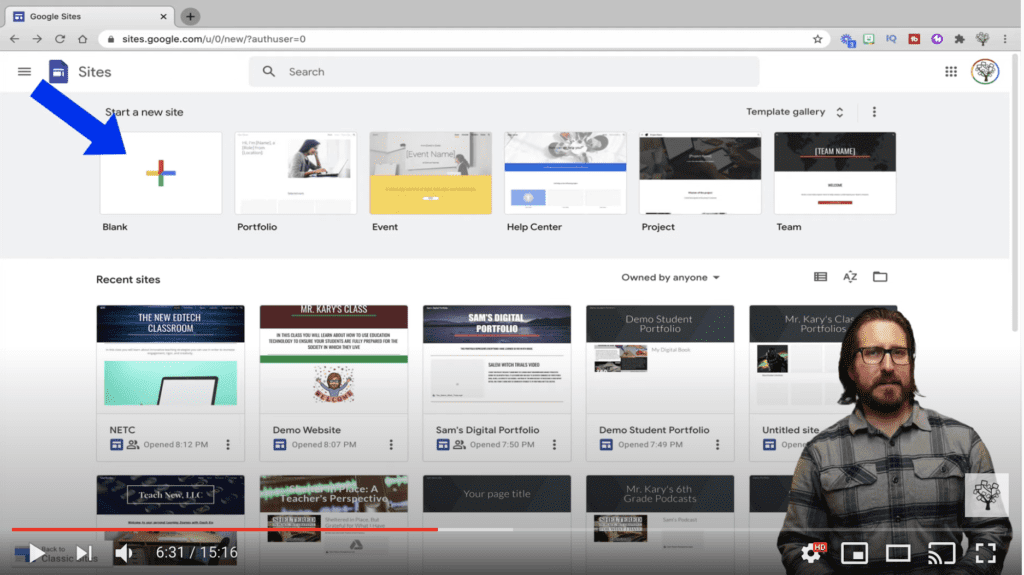
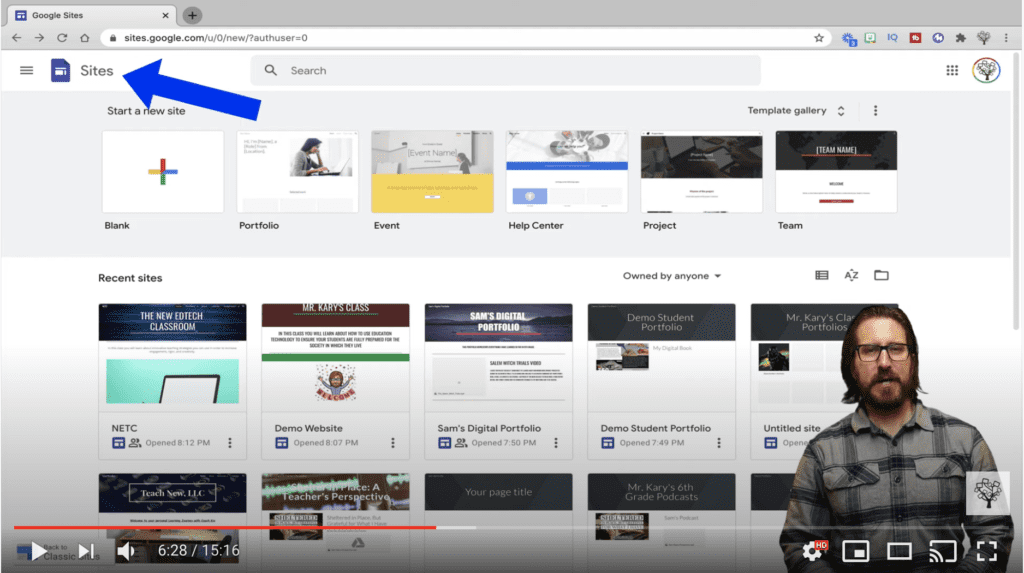
And lastly before we look at the student portfolio page, if you don’t have a class website and only want to build a portfolio page, just start from the Google Sites home page, choose to start from a template or just select “Blank” and then repeat the exact same process I just showed to set up your homepage as the central location for all your student portfolios.
Now that you’ve set up the main class portfolio page, let’s look at how to set up individual student portfolio pages, as well as how to link them back to your main page.
If you’re going to have students use Google Sites, you’ll be avoiding numerous headaches later on if you take the time to teach students how to use it now. Your best bet is to make a video tutorial so students can rewatch it at their own pace as needed.
Click here to learn more about making your own tutorials in Loom or here to learn about making them in Screencastify.
Just like you did with our own page, you can either have students start with a pre-made template, or you can start by having students create a Site from scratch.
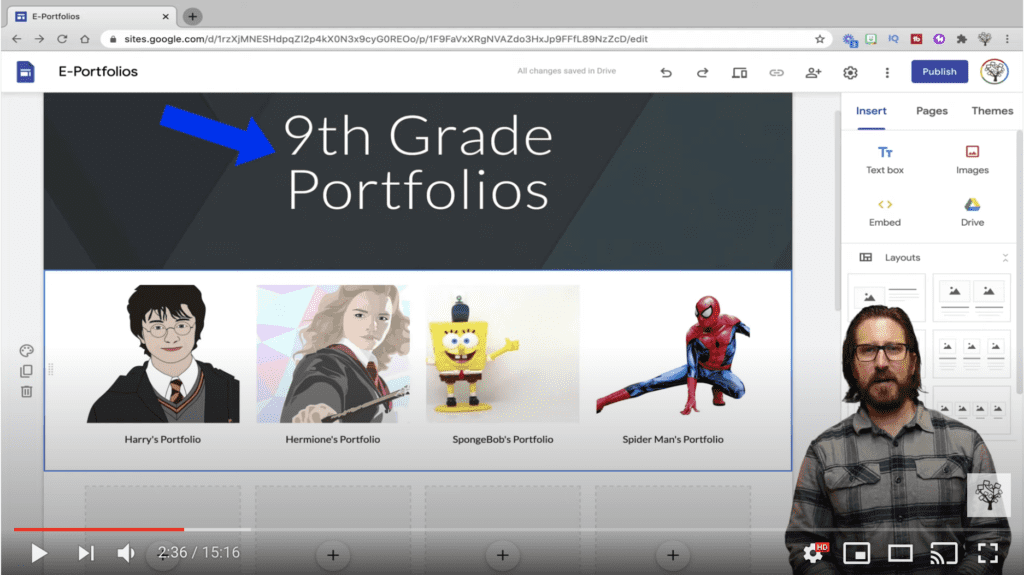
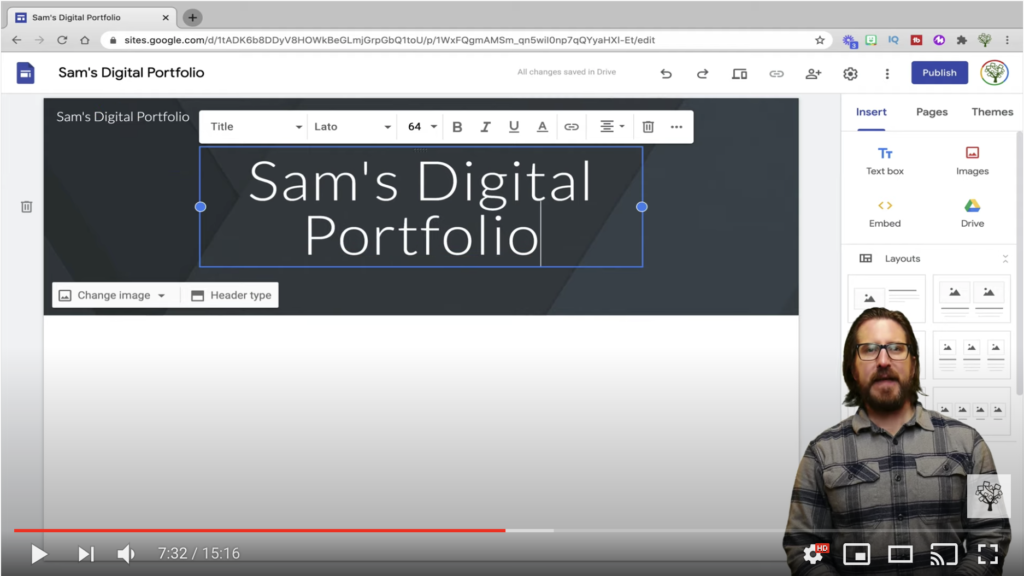
Once inside, have students give their Site a name. Show them how to add a title to their page, and then you can also show them how to choose different font types to make their site more personal, as well as how to change the background image of the header in order to make it their own.
You can also show students how they can change the theme of their page by clicking on the theme tab. From there students can select from different themes that will change the overall look of their page.

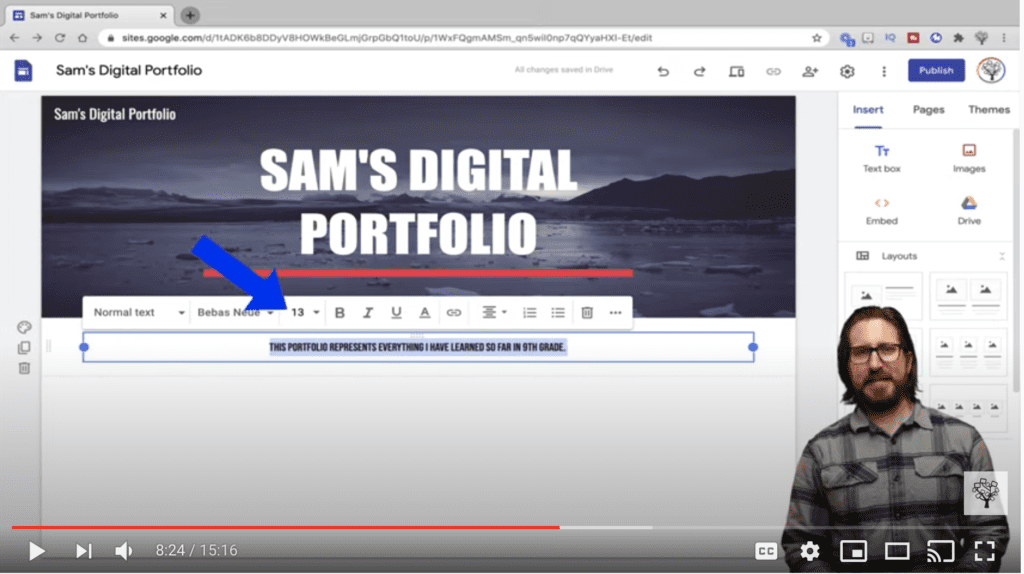
Then, you’ll want to show students how to use the Insert tab to bring in different features. You might want to have them start by bringing in text first. To add text, students just need to click Text Box, and a text box will show up. They can type a short description, such as, “This portfolio represents everything I have learned so far in 9th grade,” and then they can also change the font type, alignment, as well as the size of the text.
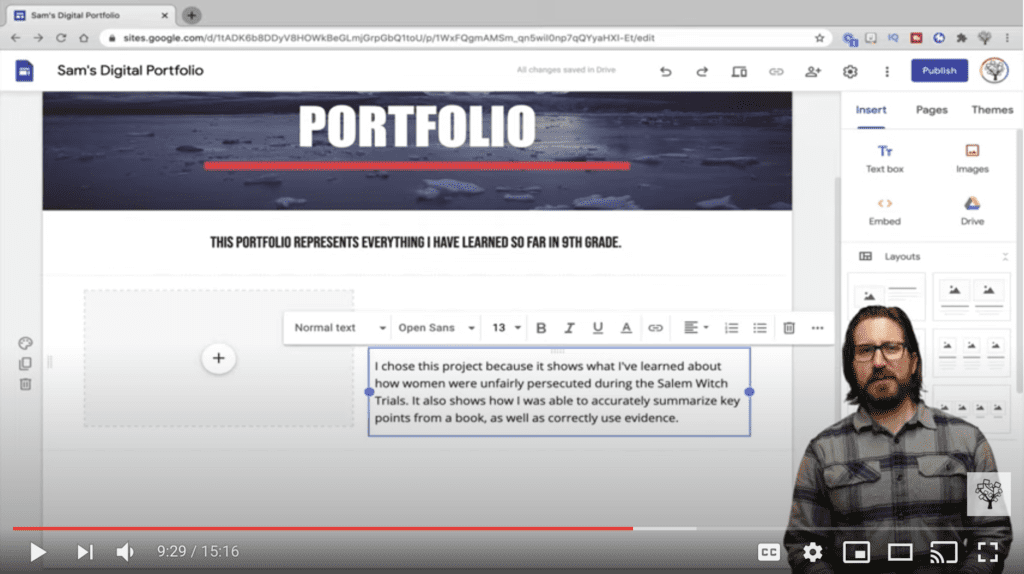
Next you’ll most likely want to show students how to bring in different types of layouts. I think the most useful layout for an e-portfolio is the single media with text layout. This layout will allow students to add different forms of media to represent their work as well as a title and description.
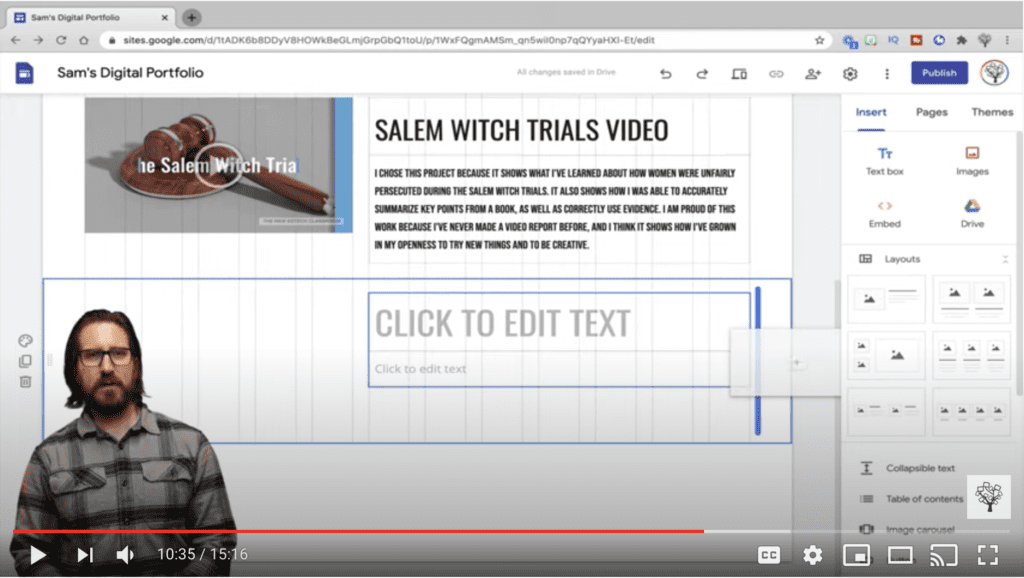
For the title, they can include a title for their report, such as Salem Witch Trials Video.
Then, you could have them include a short write-up about the piece of work they chose. Here, you could have students write about the skill development and content-knowledge shown in the project. I also like to have students include a line about why they are proud of their work, and why it shows growth.
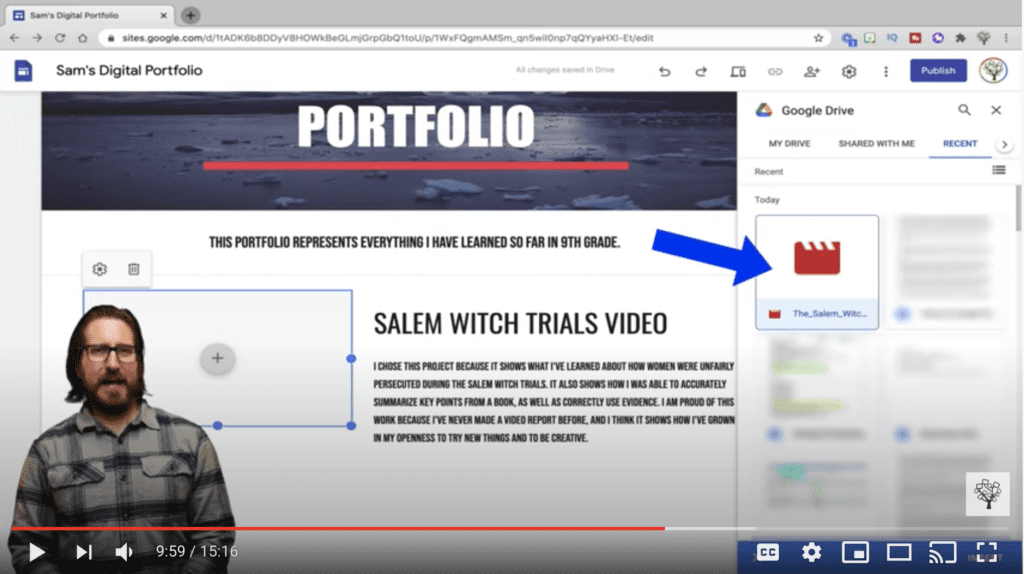
Then, to bring in the actual video, students will need to click on the “Add” button and then, in this case, upload the video from their Google Drive. Here, they just need to find their file in Drive and then click, “Insert” to add it.
Once students are ready to add new work, they just need to repeat the same steps as before. This time, however, for aesthetic purposes, I’ll show students how to offset the media and text with what they just posted by dragging the media box over to the right side.
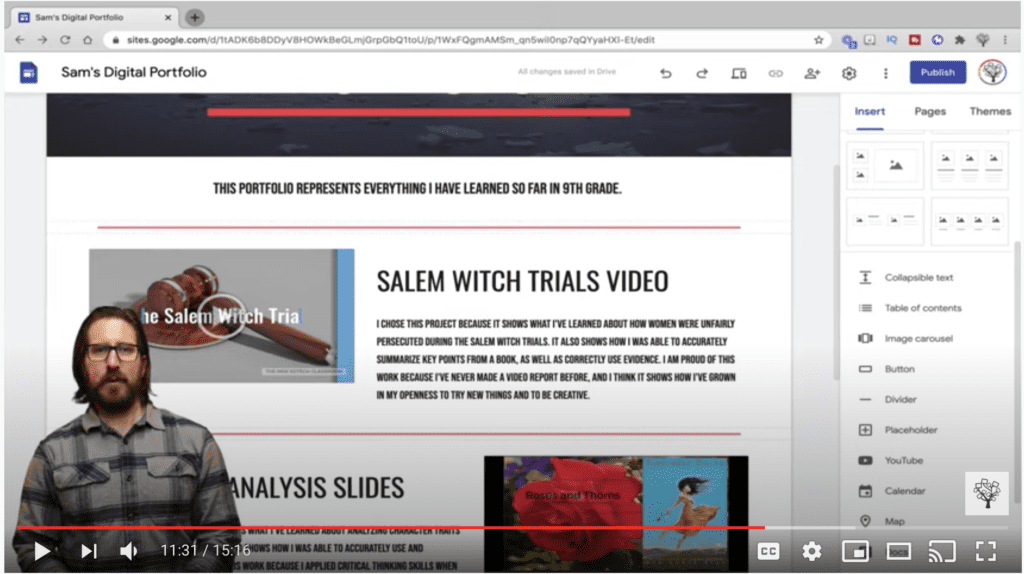
Then, they can continue to add different pieces of work. For example, they could directly embed a Slides presentation, or they could simply upload an image to their portfolios. What’s most important is that student portfolios include some way of visually representing each student’s work, as well as text explaining why that work was chosen.

To separate the assignments and make their portfolio pages look even better, you could also show them how to further customize it by doing things like adding divider lines in between their assignments. To add divider lines, they just would need to click on the page where they want the line to go, and then click “Divider.”
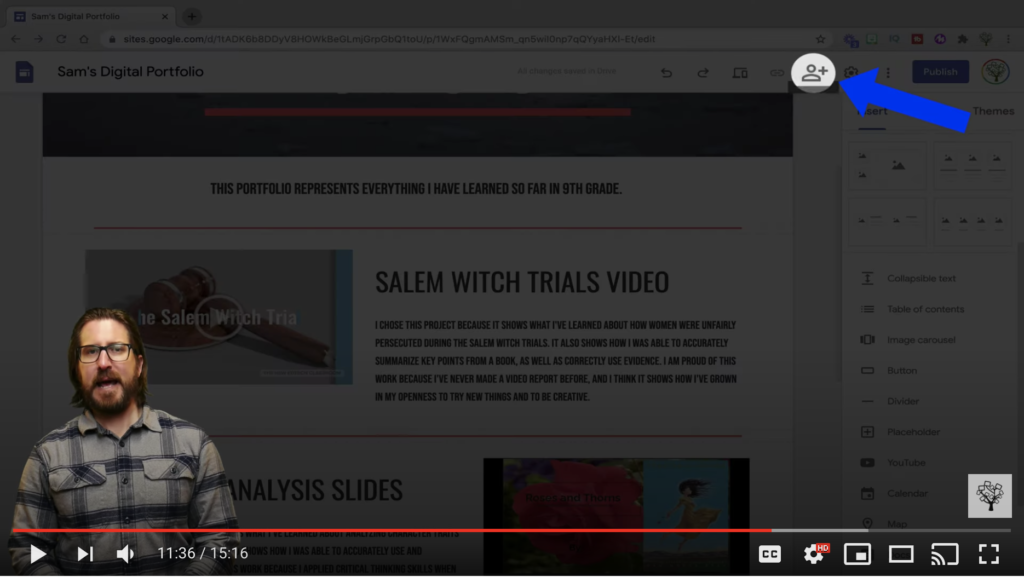
Before students publish their pages, have them add you as a collaborator so you are able to help them with edits as needed. They can add you by clicking on the person icon and then typing your email address, and clicking Send. Of course you could also pre-create the portfolio template yourself and then share the portfolios with students if you preferred doing it that way.
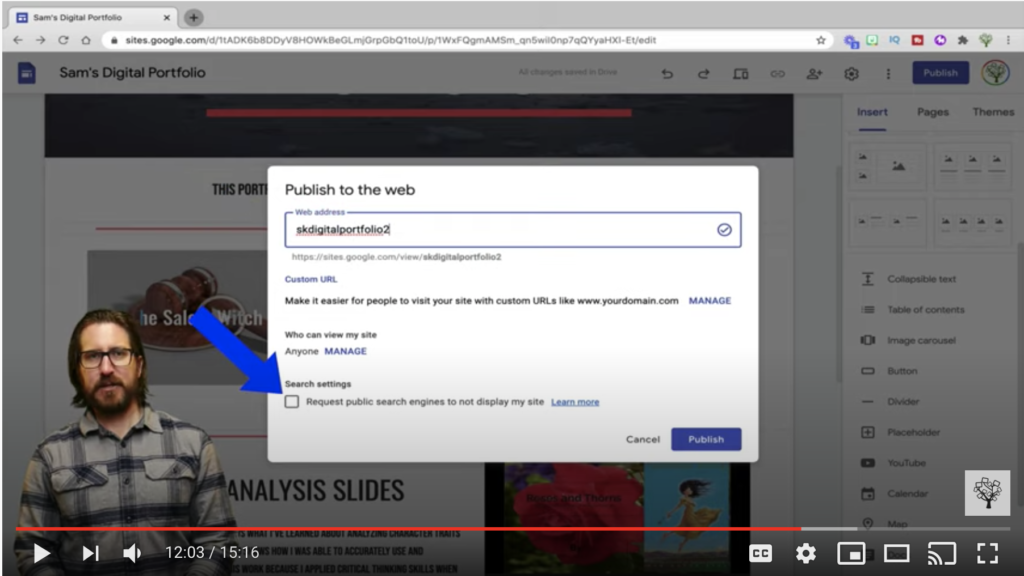
Now students will need to publish their portfolios by clicking on the blue Publish button. They’ll need to give their portfolio page a unique name, though it shouldn’t include their actual names for privacy reasons, and then click “Search Settings” box to make sure that the pages don’t show up in Google searches. If you want the portfolio page to be even more private so that only other students in your class can see it, for example, you can do that by managing who can view the page.
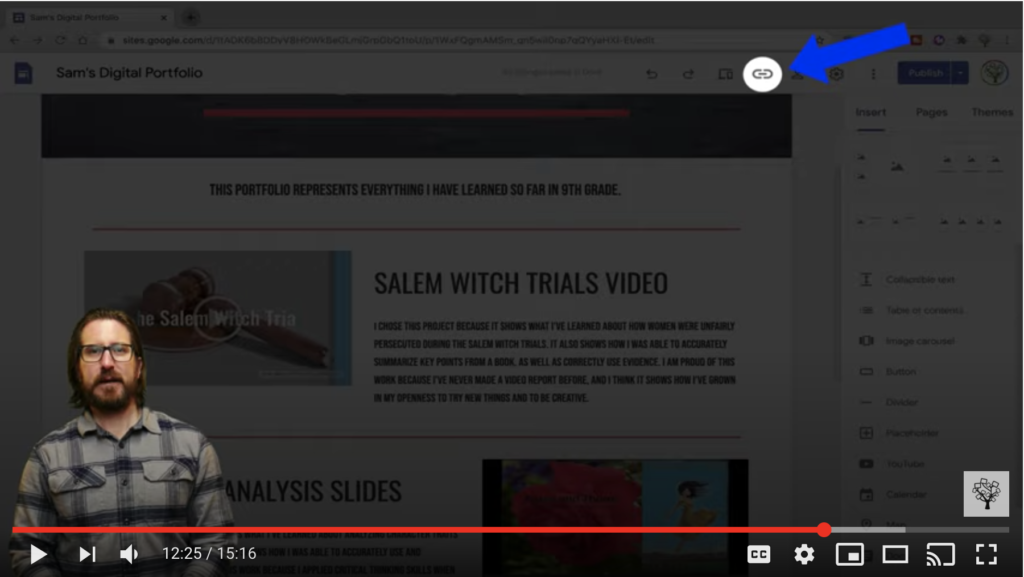
Once they’ve clicked Publish, they’ll be able to share the link to their portfolio with you. To get the shareable link, just have them click on the link button. Remember that you’ve also had students share the page with you as a collaborator, so you’ll also be able to go to their page from your Google Drive folder in order to get this link as well.
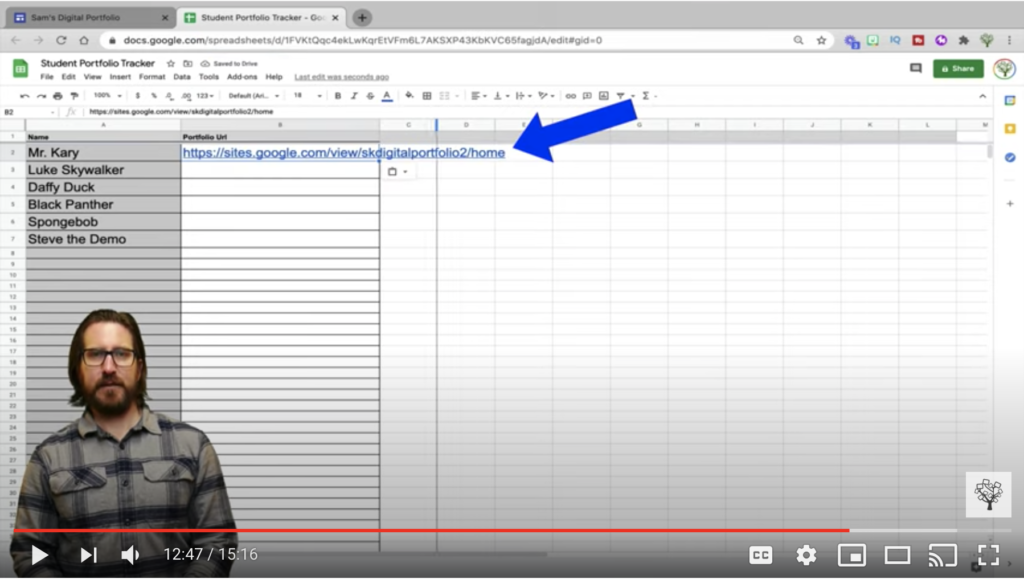
It might be a good idea to keep all of the published portfolio links in a single Google Sheet so that you can easily access them from a single document whenever you need to. Also remember to tell students that every time they make a change, they’ll need to click publish again in order for those changes to actually show up on their published page.
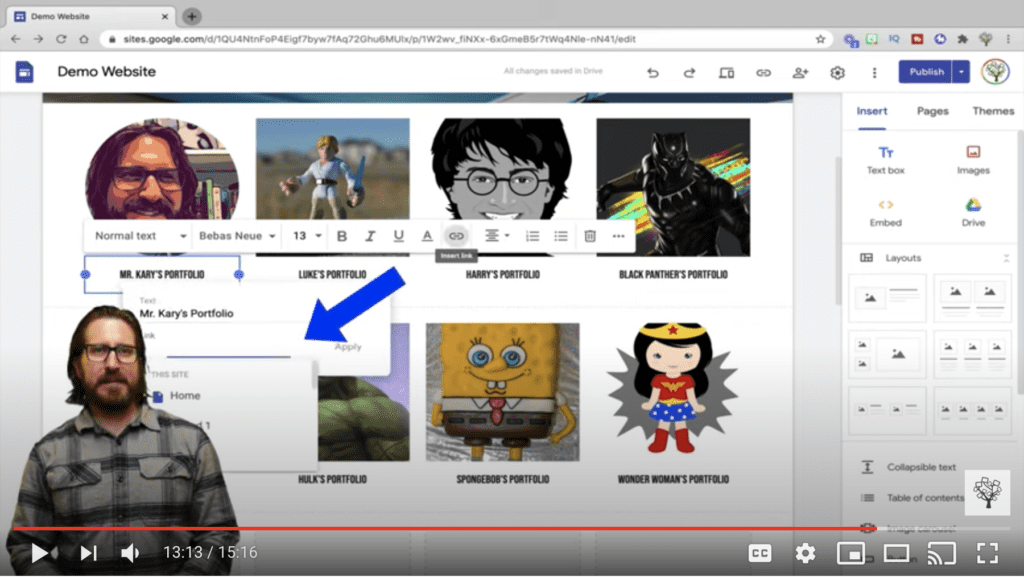
Now that you have the published links for your students’ portfolios, go back to your main portfolio page. Once you’re there, just highlight the text under the students’ image, select link, and paste the link to that students’ portfolio in. You’ll also need to hit Publish changes for the changes to show up, and then to view your published page, you’ll also need to get the shareable link.
On the published page, you’ll now be able to click on the link in order to be taken directly to a student’s portfolio, where you’ll see the work that they published!